We're often asked for help with attaching the Hemlock & Oak monthly tabs to the planner. So, we made a short video showing you how to use the tab ruler to line up the tabs and attach them so they're straight and evenly spaced.
Scroll down for written directions if you prefer that!
It takes about 20 minutes total to attach the tabs if you're really taking your time to make sure they're straight and in the right place.
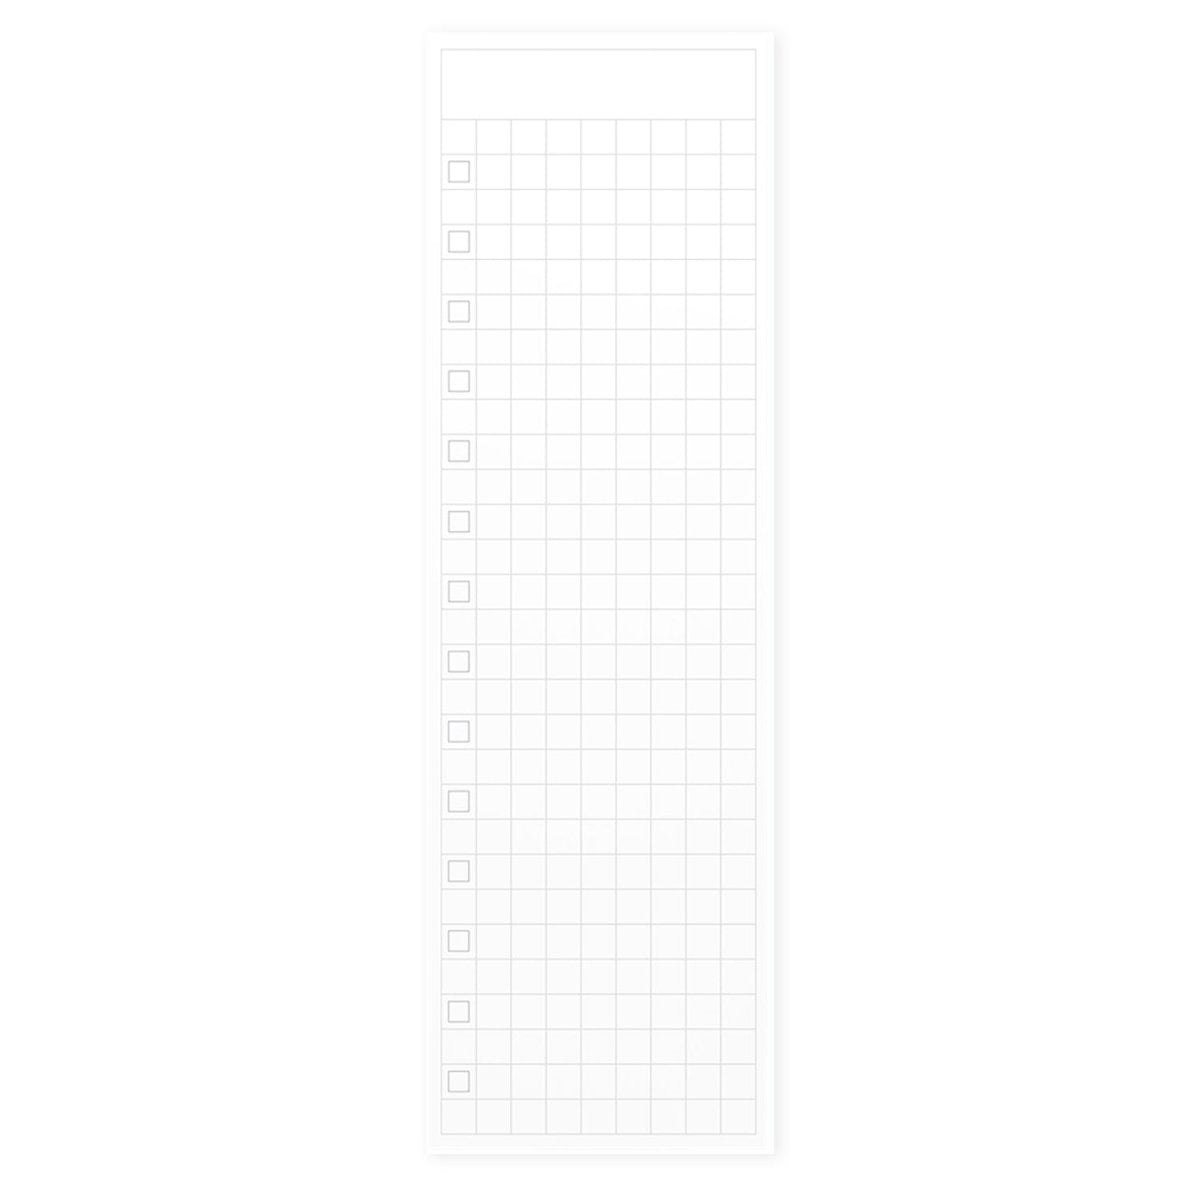
Line the tab ruler page up with the planner page, and then slide it over to the right slightly to expose the edge of the page that you're attaching the tab to.
We recommend that you start by lining up all the tabs for each month before you fold them and close them. Just barely stick the tab to the page so you can remove it without tearing. This allows you to adjust them if needed before you seal them in place permanently.

Once all the tabs are lined up to your liking, go through each month and gently and carefully fold the tab over the page to close it.
We recommend folding them slowly by lightly tapping the tab to fold it. This is so you can make sure the fold crease is straight as you go.

Once the tab is folded over, press down to secure the tab in place on the page, and press down on the fold to create a flat crease.

If you're looking for a tab ruler to help position your tabs you can print them for free! Just choose the size you need: